How Can We Help?
From an entire interior home renovation, to a new kitchen, we take care of everything. Call us today on 1300 450 320 or leave your details below to book your custom design consultation.
Spending more time at home during these unprecedented times can be challenging but also gives us the opportunity to slow down a little and reflect on the things that are truly important to our everyday. Whether it’s spending more time with the kids, or planning that overdue renovation project we never got to - it’s all part of a new way of living for now.
Many of us have used this extra time to tackle those tasks we haven’t had a chance to get to due to hectic lifestyles. In this month’s B&C Journal, we are using the extra downtime to tackle the kitchen pantry and sharing our top tips to help you get organised.
Pantries come in all shapes and sizes: large, small, walk-in, butler’s, drawers, shelves, roll-out compartments... and the list continues. How to make the most of a pantry, whatever the arrangement, comes down to organisation. This kitchen pantry guide, by the team at Balnei & Colina, will have you stocking and organising your pantry like a professional. Enjoy!
The Team at Balnei & Colina
The kitchen pantry is one of the busiest zones in the kitchen, a go to for everything from breakfast, lunch to pre-meal snacking. With every member of the household accessing the kitchen pantry several times a day and replacing items haphazardly, your kitchen pantry can easily become disordered and untidy - turning into a space where items are perpetually lost, and found once again, usually after their use by date.
We’ve all experienced finding stale biscuits at the back of the pantry or that piece of mouldy bread that was hidden behind tins of canned food. The best way to keep your kitchen pantry under control is to get organised.
Developing kitchen pantry storage methods, that will enable you and your family to locate and store items with ease is simpler than you think. This tried and tested kitchen pantry storage method, from the kitchen design team at Balnei & Colina, will take your kitchen pantry from chaos to organised bliss, in three simple steps.
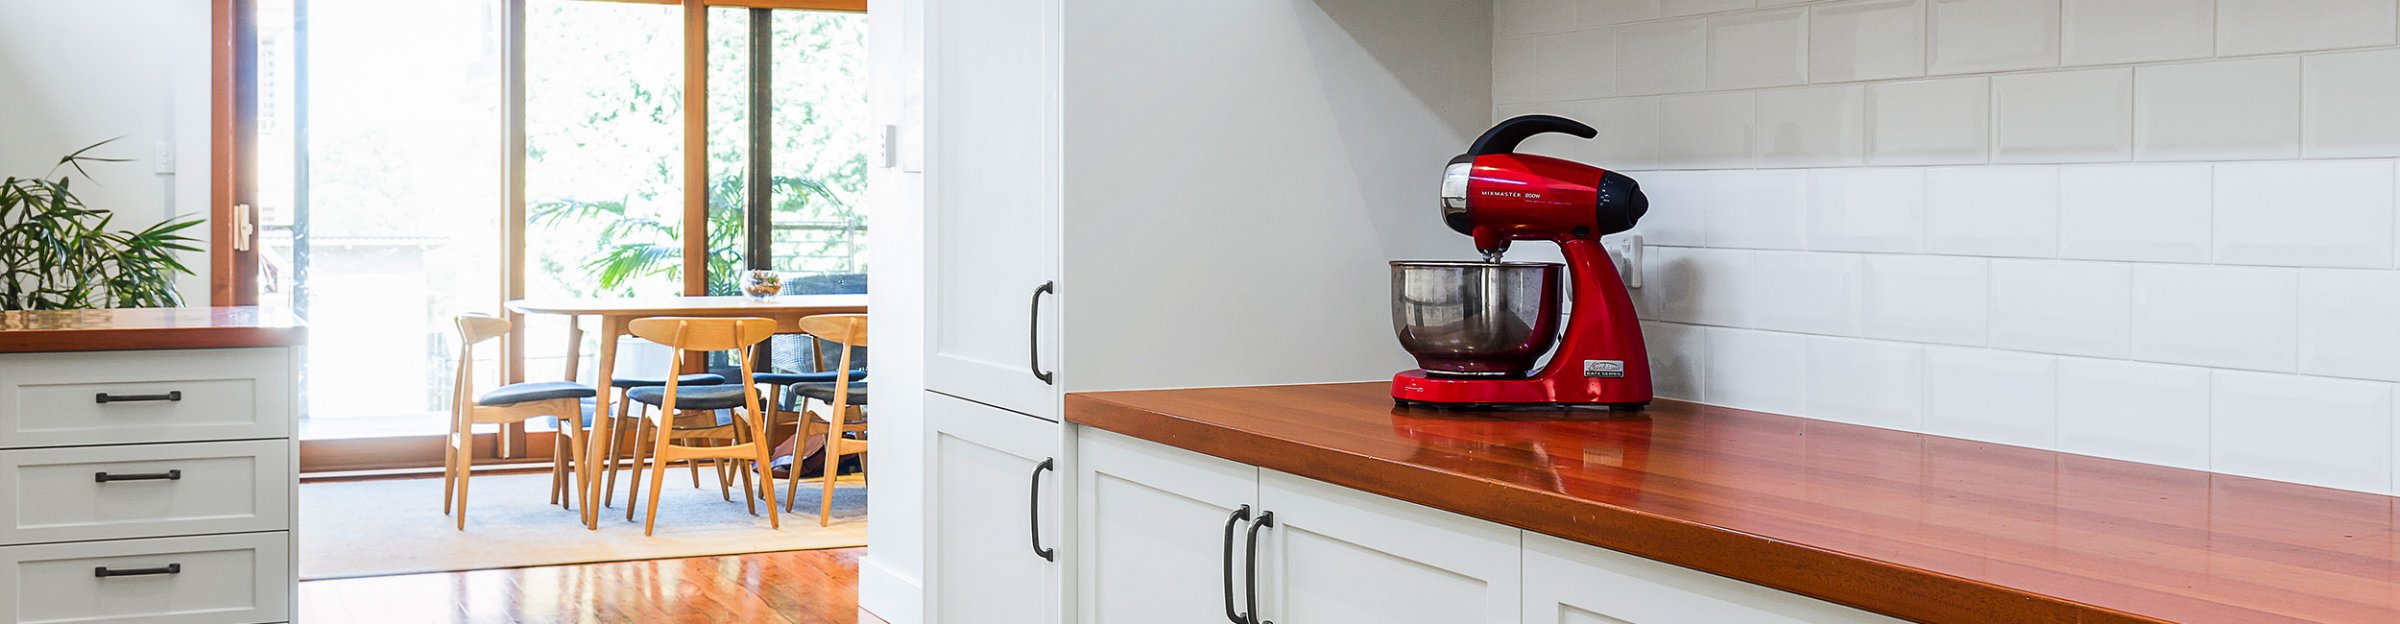
Balnei & Colina Kitchen Renovation Sydney
Start your kitchen pantry organisation by removing all the items in your kitchen pantry and laying them out on a clean surface. Have a garbage bag next to you whilst emptying shelves and check expiry dates as you go, throwing out anything that is overdue. Make a shopping list - note down all the items that need replacing.
Kitchen Pantry Tip: Now that your pantry is empty why not give your pantry shelves a thorough clean.
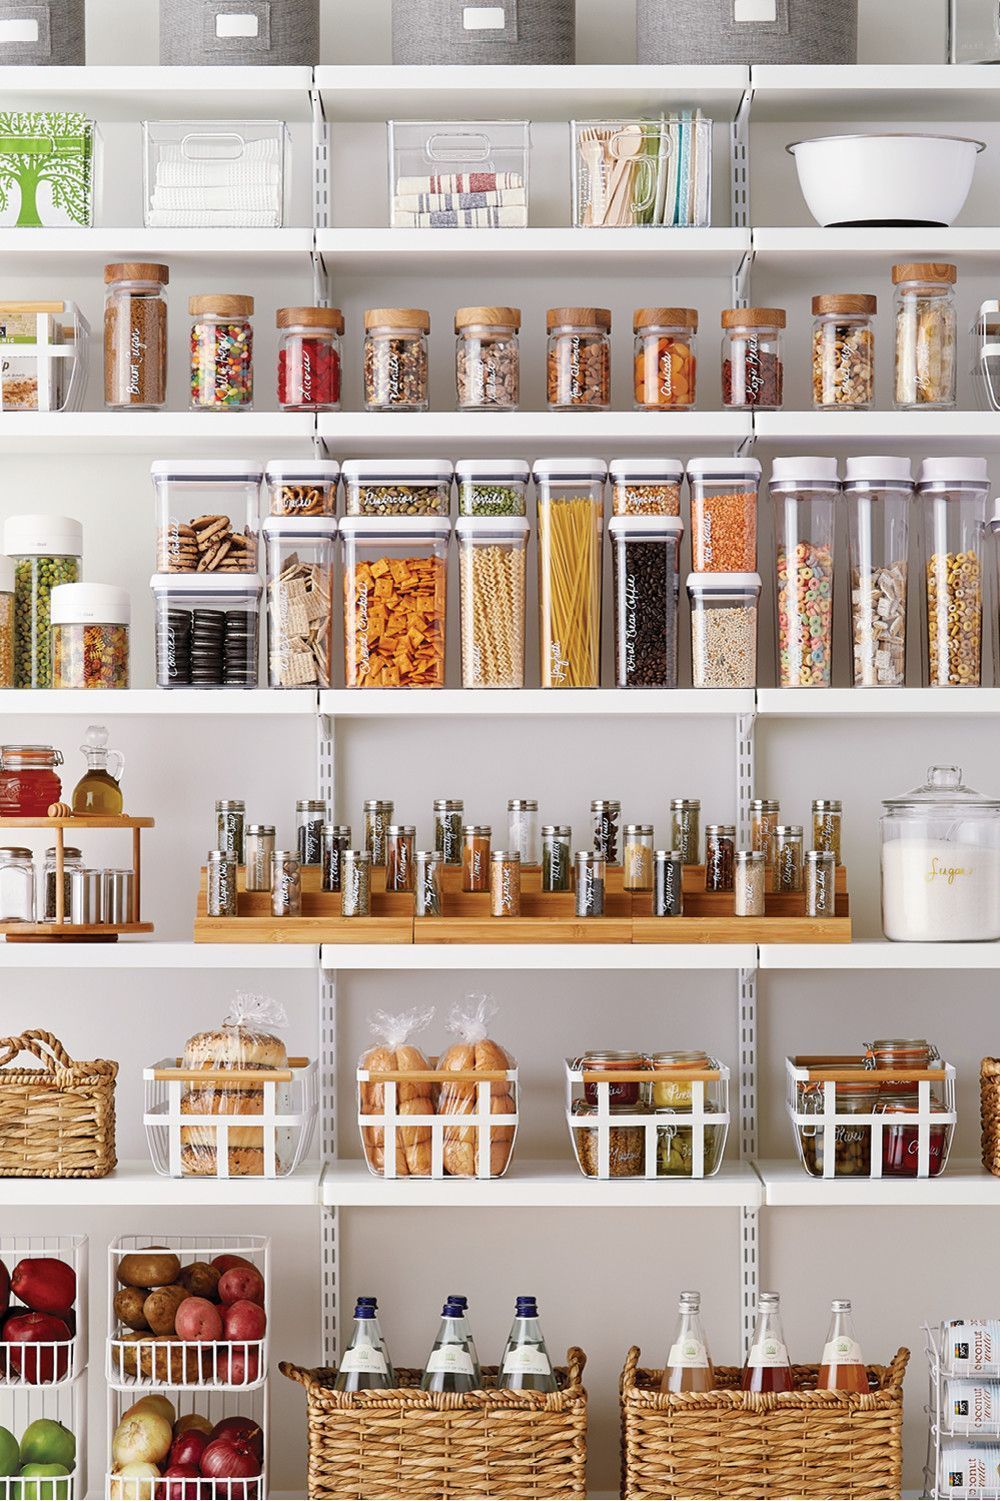
Image credit: Hither & Thither
Next, place all the pantry goods you’ve collected into categories for eg baking goods, cereals, tins, etc so that you can easily re-stock them back into your kitchen pantry. When deciding where to put everything, the rule of thumb is to keep items you use regularly at eye level and items you use less often higher up.
Now the fun part - re-organise your kitchen pantry and re-stack using functional zones. Think of how your local Coles or Woolworths group their grocery aisles and aim for similar style with your pantry.
Organising your kitchen pantry based on function, will keep your kitchen pantry coordinated and help you prepare meals and snacks more efficiently.
The secret to a successfully organised kitchen pantry is Kitchen Pantry Zoning. This storage method will make it easy to determine where pantry goods belong, what needs to re-stocked, and will help you shop more efficiently, as your newly organised kitchen pantry will mimic standard grocery store stocking.
An important first step in the kitchen pantry zoning process, is to identify food and cooking categories that suit your lifestyle (dry goods, portable lunches, baking, after school snacks etc.) Next, designate an area for each, with the most often-used zones within easy reach.
Here are our top kitchen pantry zones, from the kitchen design team at Balnei & Colina:
.jpg)
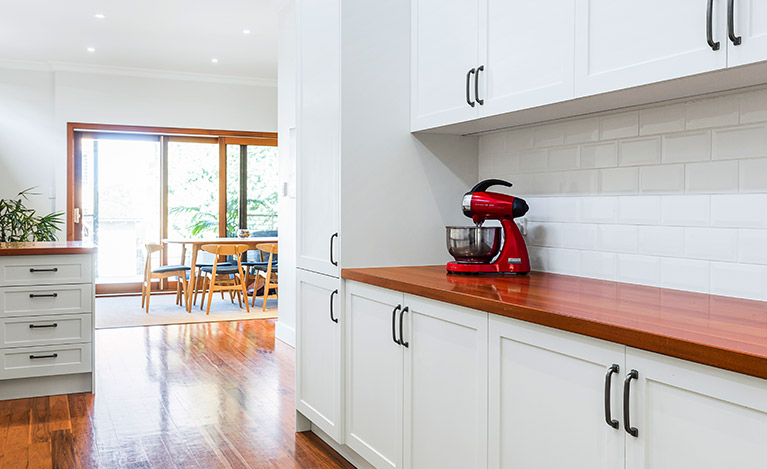
Balnei & Colina Sydney Kitchen Renovation
Zone 1: Baking supplies
Location - Upper Shelves
Baking supplies like flour, caster sugar etc do not get used on a daily bases so store these on higher, harder to reach shelves within your pantry.
Keep dry ingredients in clear, airtight containers that stack neatly so you can see when your stock needs replenishing. Place mixes, frostings, and other ingredients close by. You can use pantry shelf risers to stack ingredients on top of each other in a more organised fashion.
Pantry Tip: Upper shevles are also a great place to keep your not so regularly used collection of cookbooks.
Zone 2: Snacks & Entertaining
Location - Upper middle shelving
This kitchen pantry zone is all about quick meal solutions for entertaining and snacking. Stock, biscuits, chips, peanuts, noodles, healthy snacks, olives, dried fruits, crackers, and a selection of fast-fix appetisers. Use clear packets and wire baskets to store items on a higher shelf so they're not taking up room where everyday products should go. When visitors arrive, it will be easy to pull a basket down to help get a party underway.
/life-in-jeneral-ikea-kitchen-pantry-organization-ideas-02-4x3-d7372477ff594e14b00b4d0cbf616cda.jpg) Image credit: My Domaine
Image credit: My Domaine
Zone 3: Breakfast Items
Location: Middle Shelves
Keep morning meals in an easy-access spot so you can find everything you need. Use baskets for bread. Save shelf space for boxy items such as cereal, pancake mix, and instant oatmeal. Store condiments like maple syrup and jam close by in open baskets.
Zone 4: General food storage
Location - Middle Lower Shelving
Pasta, dried goods, long life milk, canned food and sauces. Use clear air tight canisters for dry food items like pasta. Group and stack canned goods, oils and sauces.
Kitchen Pantry Tip: Maximise visibility in your kitchen pantry by using clear air-tight modular containers. These will help make the most of your kitchen pantry space and keep food fresh for longer. Pick containers that stack well and clearly label contents and expiry.

Image via Pintrest
Zone 5: Non-perishable Pantry goods
Location: Middle Lower Shelves
Store items like plastic utensils, napkins, and sealable lunch bags, foil, grocery bags and plastic wrap together to make them easier to locate when needed. Sort and place regularly used items together in a basket with handles so you can grab everything at once during busy times like school/workday mornings.
Zone 6: Kitchen Small Appliances, Tools & Veg
Location: Lower shelves
You can store specialty appliances like your mixer, or food processor in the pantry as well. Your most-used cookware should remain in your main kitchen cupboards.
Root vegetables, like potatoes, onion and garlic, that don't necessarily need to take room up in the fridge, can be stored on the bottom shelf of your kitchen pantry. Heat rises and with less natual light, storing these vegetables at the bottom of your kitchen pantry will prolong their shelf life. Use weave baskets with open pockets to store potatoes, onions and garlic to ensure circulation of air and keep vegetables fresh for longer.
You can also store wines and bottled drinks in this section of your kitchen pantry.
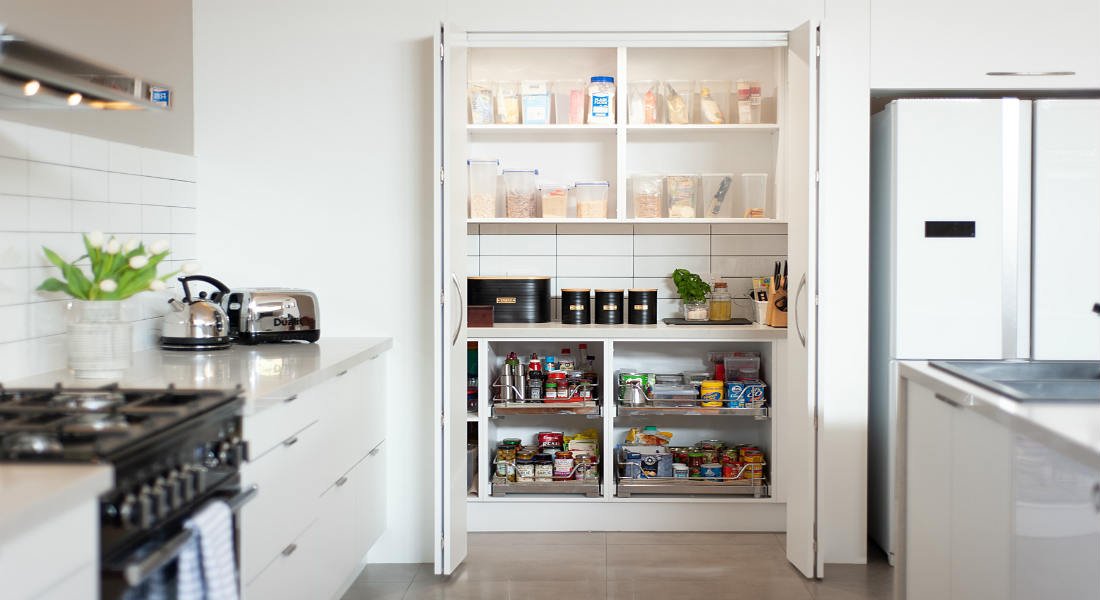
.jpg) Kitchen Renovation by Balnei & Colina
Kitchen Renovation by Balnei & Colina
Now that you can see everything, further group what you have into smaller categories. So, place similar baking goods together, cereals together, cans and jars together, spices together etc. This enables you to see what you have and makes day to day decluttering and organising quicker.

Image credit: The Organized Home
Need help with an upcoming kitchen renovation project? Speak to the kitchen renovation experts at Balnei & Colina. Based in Sydney, we specialise in kitchen renovations, bathroom renovations and custom joinery solutions for residential homes.
For more information about our kitchen renovation, bathroom renovation or custom joinery services please visit us at balneiandcolina.com.au or connect with us via Facebook and Instagram.
You can also send us your project details via this contact form.
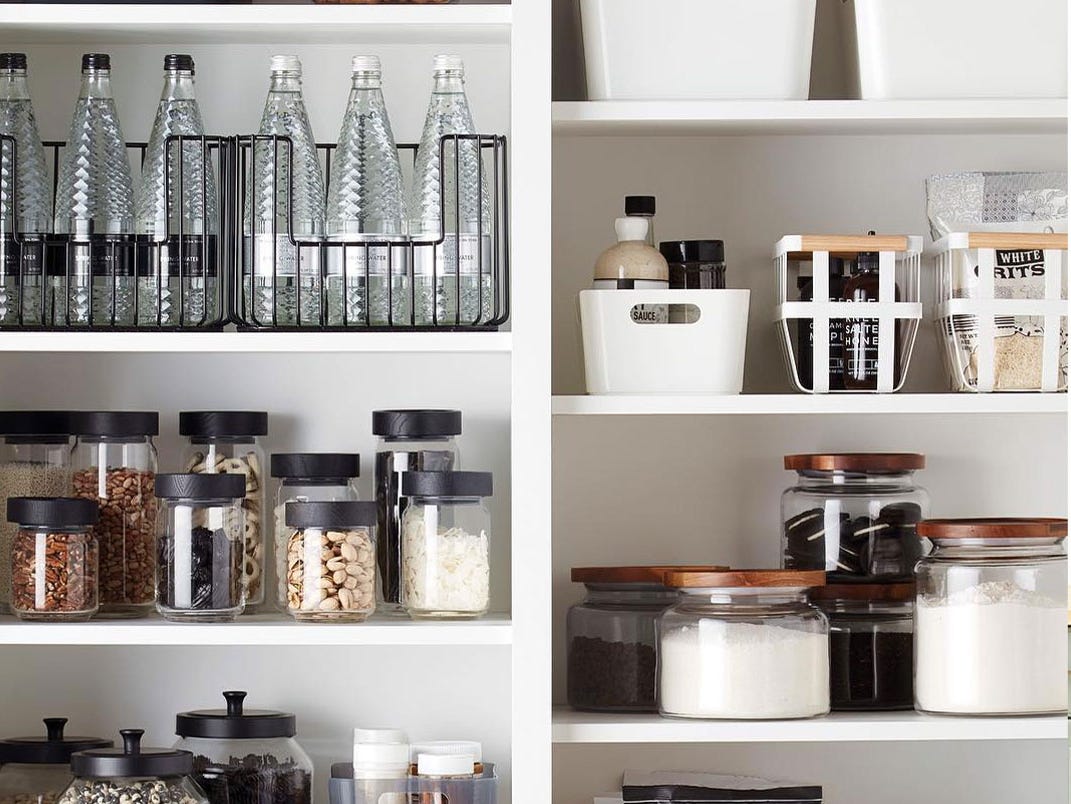
Image credit: Business Insider

Image credit: Pantry Storage via Kmart

Image credit: Lisa Valentine Home
From an entire interior home renovation, to a new kitchen, we take care of everything. Call us today on 1300 450 320 or leave your details below to book your custom design consultation.

 No Thank You